
Driveway Light Show Setup: Plan, Power and Sync

A good driveway light show starts with the route, not the lights. Decide where cars, people and sightlines need to stay clear, build the display beside that route, power it from outdoor-rated, GFCI-protected sources, and let your design software count the equipment. With EZRGB, you photograph your home, mark a measured reference, place props in the Designer, choose a sequence and its matching music, and sync and schedule the show in EZPlayer.
This guide covers a driveway-adjacent display: the planning order, placement, power, controllers and a final walk-through.
Start With the Route, Then Place the Show
Before you open any design tool, walk the driveway the way a driver, a delivery person and a visitor on foot would. Note where cars turn in, where they park, where people step out, and where the path leads to your door.
Place decorations beside the driveway, with room for vehicles to turn and people to walk. Keep stairs, doors, sidewalks and sightlines clear.
A simple order of operations works well:
-
Mark the vehicle path and any pedestrian route from the street to your door. These stay empty.
-
Choose a viewing spot with a clear view and room for people to stand away from moving vehicles.
-
Place the main focal point on the house, garage or yard, facing that viewing spot.
-
Add smaller props to the sides of the driveway, outside the vehicle path.
We do not publish a universal clearance number, because driveways differ in width, slope and local rules. Use your own measurements and your own judgment about what leaves enough room for your vehicles and your visitors.
Use the house as the focal point
Put the most prominent effects on the garage outline, roofline or a section of yard away from the driveway. Use smaller props to frame the view. Keeping the edge of the drive simple gives viewers a clear view of the display and gives drivers a clear view of the route.
Check the effect from a stationary vehicle after dark. If a prop shines into the driver’s eyes or makes the driveway edge harder to see, reposition it or choose a less intense effect before opening the show.
Plan the Layout in the EZRGB Designer
The Designer replaces most of the guesswork. Here is how the process goes:
-
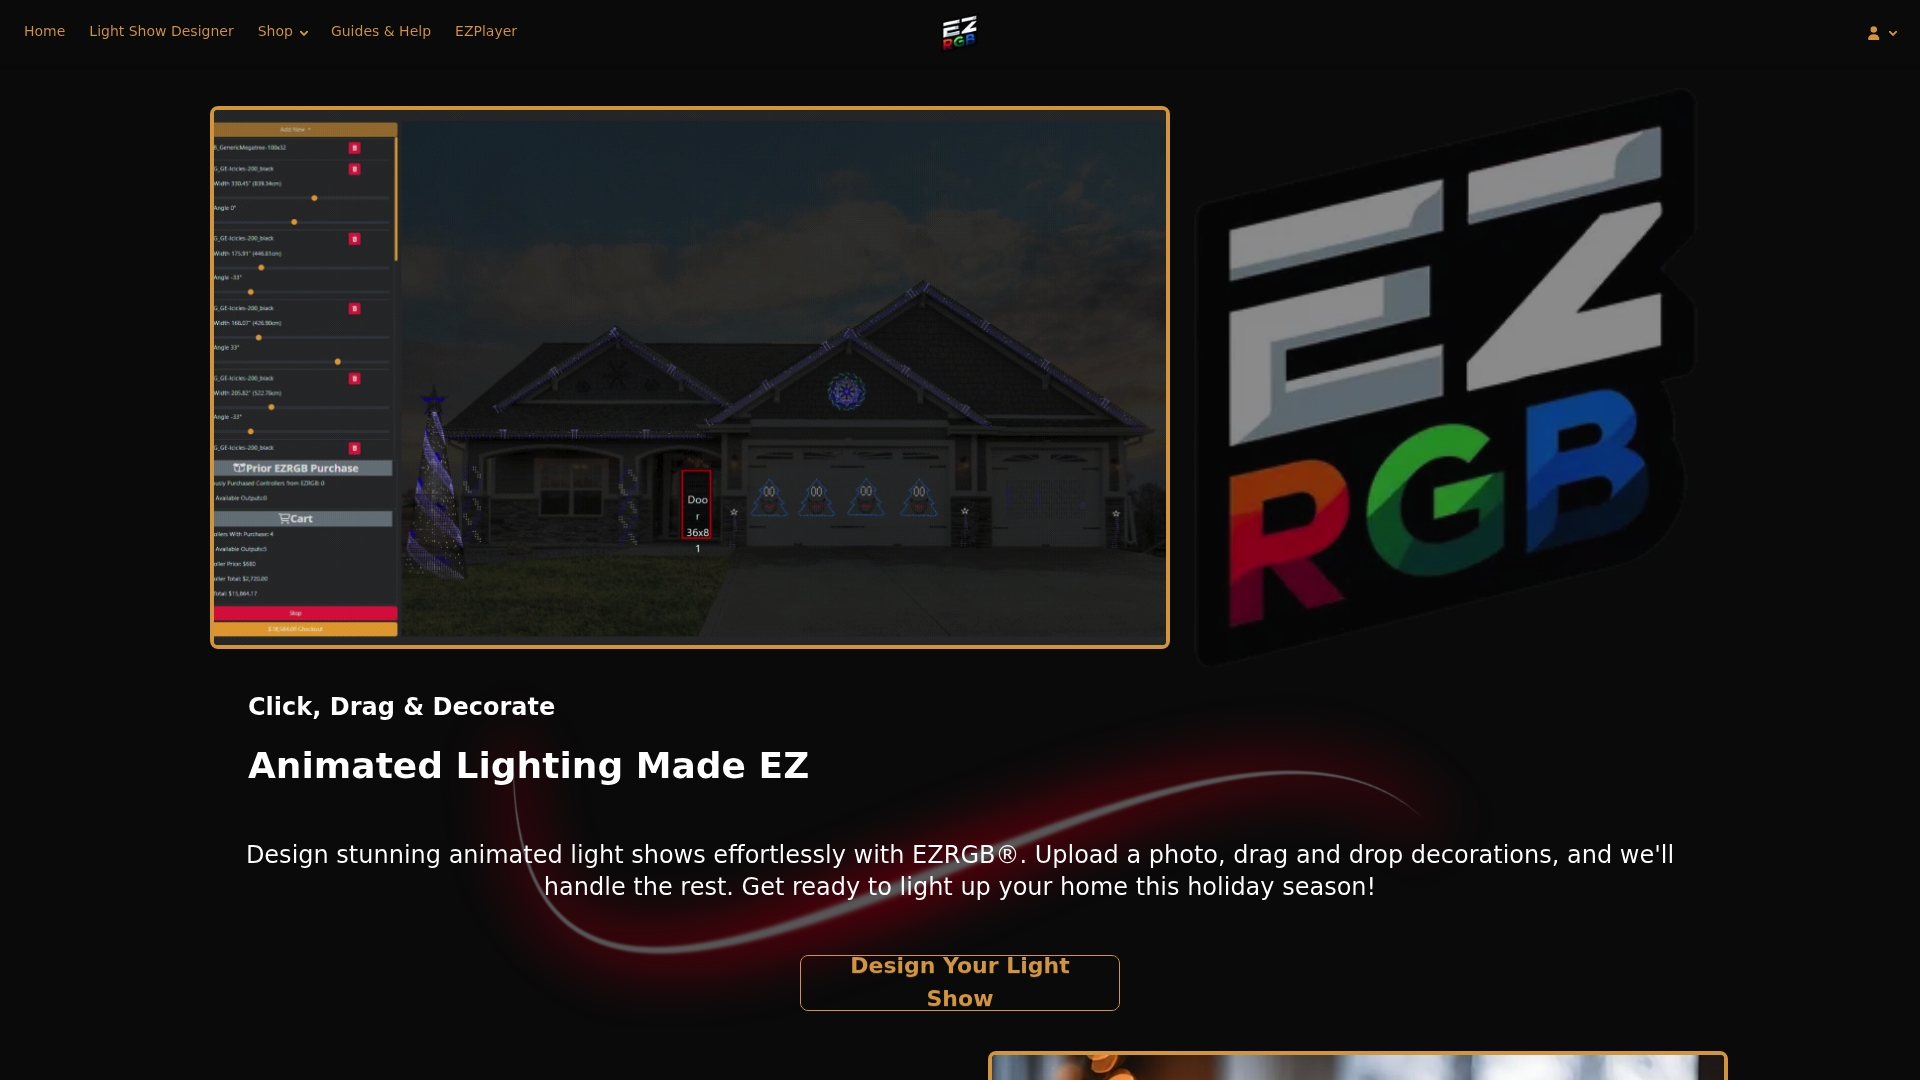
Upload a photo of your home. Take it from the spot where people will watch, with the driveway and garage visible.
-
Set the scale. Measure a door or window and draw a box around it on the photo, then enter its dimensions. The Designer uses that reference to scale the rest of the image.
-
Draw your house. Trace rooflines, curves, doors and windows.
-
Place decorations. Drag and drop props and lights onto the photo, and preview the result before you buy.
-
Review the counts. The Designer works out the equipment and light counts for you. You confirm the reference measurement; you do not allocate ports by hand.
-
Watch the controller ports. The Designer tracks free controller ports and flags when your layout needs another controller.
If you are new to this, our six-step beginner walkthrough covers the same flow from photo to show.
Choose spacing for the effect you want
Look at the outline from the intended viewing spot. For example, a garage frame can read clearly from across the yard while a small pattern on a distant prop may be harder to see. Use the spacing specified for the product and its mounting system, then preview the layout before ordering.
Route power away from cars and foot traffic
Use electrical decorations and extension cords marked for outdoor use. Match cord ratings to the equipment, plug outdoor decorations into GFCI-protected power, and check cords and lights for damage before use. Keep connections clear of snow and standing water and follow the manufacturer’s instructions for outdoor placement. ESFI outdoor decoration safety tips
Keep ordinary extension cords off the driveway and walking routes. Choose a route beside the house or along the display side of the driveway, where cords are protected from traffic and won’t be pinched by doors. If you can’t reach the display without crossing an active vehicle path, ask a qualified electrician about a suitable supply location.
Choose clips, stakes or brackets that suit the surface and the prop. Keep supports clear of the route and avoid fasteners that can damage cable insulation. If you need an outdoor outlet or are unsure about electrical capacity, ask a qualified electrician before installing the display.
Controllers, Cables and Connections
A controller takes the sequence and drives the lights. If you want the basics, see what a show controller does and how simple lighting controllers work.
Two points for planning a driveway-adjacent show:
-
All controllers connect by Ethernet. There are no wireless controllers, so plan cable runs between controllers and the player.
-
The player connects over Wi-Fi. EZPlayer uses Wi-Fi to sync the show through the cloud. Follow the setup guide for the Ethernet and prop connections.
Place controllers in a protected spot near the display, such as by the garage or beside the house, away from the vehicle path. Kits include the listed equipment and extensions. Mounting hardware is not included, so choose clips, stakes or brackets suited to your surface and follow the product’s mounting instructions.
Sync the show and schedule playback
A sequence tells the lights when to change color or move through an effect. If you’re running a musical show, choose a sequence that suits your layout and get the matching recording. Kits, sequences and music are sold separately. Check the sequence listing for the recording before buying the audio. EZRGB sequence catalog
-
Use EZPlayer’s cloud setup for the EZRGB kit workflow. Sync to download and configure your layout and show.
-
Follow EZPlayer’s prop connection guidance and the supplied instructions for wiring and mounting.
-
Test a sequence with its matching audio. Check the timing and make sure the intended props respond.
-
Build the playlist, choose the dates and times, and test the schedule before inviting viewers.
Official EZPlayer setup and scheduling guide
Test the Show Before Anyone Arrives
Run the show after dark before opening night. Check it from the intended viewing spot and from the driveway, where glare and obstacles can be easier to spot.
Your pre-show walk-through:
-
Run the whole playlist after dark from the viewing spot.
-
Walk the path from the street to your door and confirm nothing blocks it.
-
Sit in a parked car, then pull in and out, checking glare and sightlines.
-
Check every outdoor connection for moisture protection and that all power runs on GFCI-protected outlets.
-
Confirm the schedule’s start and stop times.
Choose where visitors can watch without standing in the driveway or blocking the sidewalk. If you expect more viewers than that area can hold, adjust your viewing plan before sharing the schedule.
When the season ends, our teardown checklist makes next year easier.
Start With a Kit Built for Beginners
If you want the equipment in one order, our Plug and Play Kits include the listed equipment and extensions, with preinstalled pixel lighting for quick setup. Our Christmas Light Show Kit 1 is one place to begin. You can also add individual plug and play props to extend the display.
Kits do not include mounting, and sequences and music are sold separately. Try your layout in the Designer first at ezrgb.com.
FAQ
How do I keep a driveway light show from blocking cars?
Place props beside the driveway, not in the vehicle path, and keep a clear route from the street to your door. Walk that route and drive in and out during testing. Adjust anything that narrows the space or sends glare toward the driver.
Can I run extension cords across my driveway?
No. Do not run ordinary cords across an active driveway. Bring power in from the side along the house or a planting bed, and use an electrician for any permanent solution that must cross a vehicle path.
Do I need to program the lights myself?
No. The Designer works out equipment counts from your photo and measured reference, and EZPlayer downloads and configures the show through cloud sync after you select your sequences.
Do I need more than one controller?
It depends on your layout. The Designer tracks free controller ports and flags when you need another controller. All controllers connect by Ethernet.
